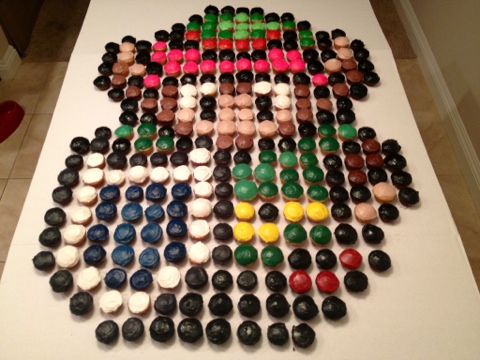
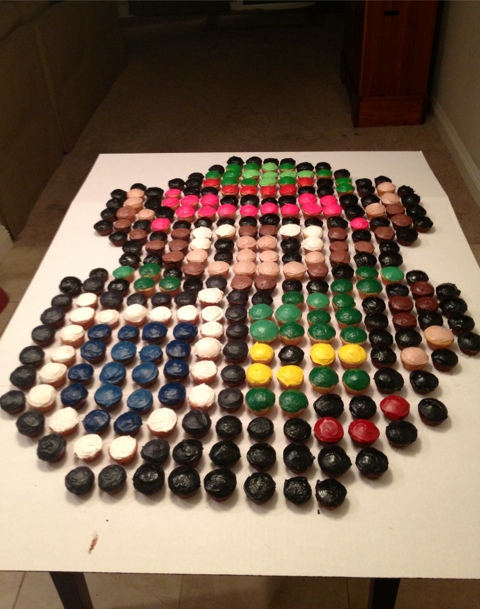
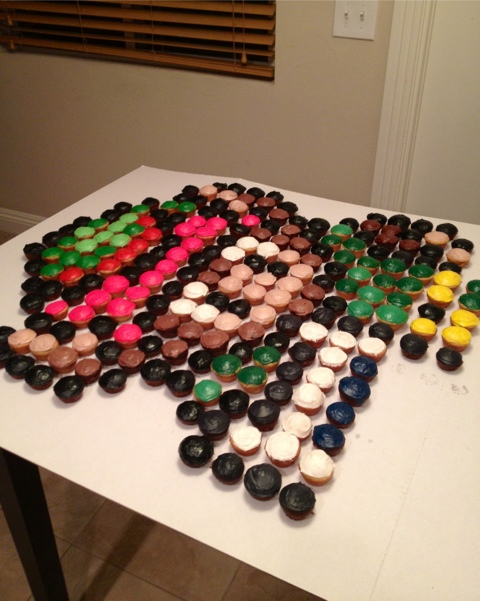
We actually freakin did it!
I’m so happy with how it turned out. It actually looks better in photos than in real life but that works to the blog’s benefit. Because of how big it is, you kinda have to squint when looking at it when you’re right there.
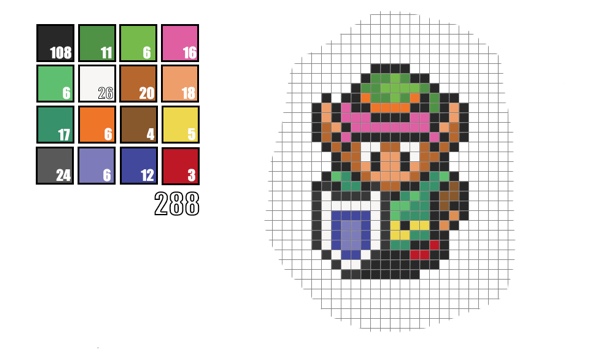
As a comparison, here’s the original again
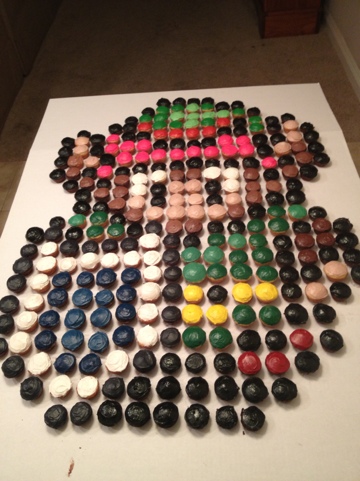
And the edible version
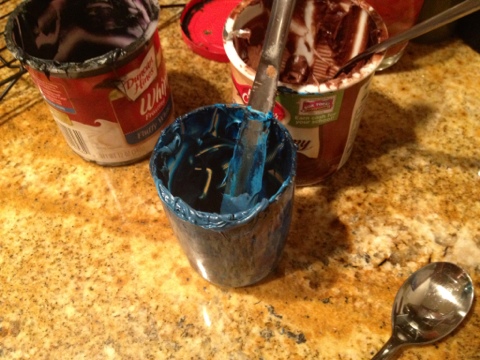
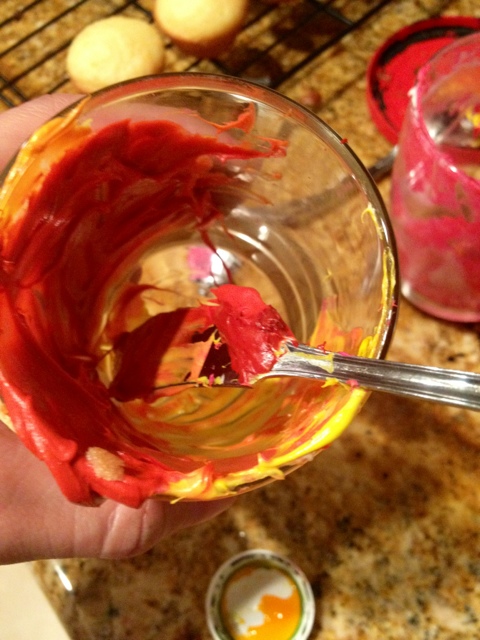
Since we finished all the blacks on night one, night two was dedicated to all the colors that needed to be mixed specially. I felt like an artist as I created these colors and my stained hands would agree. The mixing process also created quite the mess.
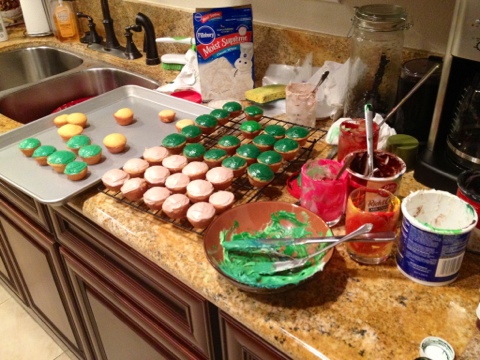
I have five food dyes, yellow, pink, blue, green and black and those were mixed to create all the shades you see above. We didn’t get the colors exact but what was important to me was to get the distinction between the shades relatively the same. As I went along with mixing, I got better at estimating how much of each color to use and my colors got richer and less neon.

Mixing the colors was actually a lot of fun but four hours of standing on the hard tile floor really did a number on my legs and I’m just as tired today as I was yesterday. I still did some baking last night but most of it was frosting which is so much more fun!
What I Used
This was definitely a learning experience for me and organization was probably what I would try to improve for next time. Our kitchen isn’t small but it sure felt that way as I was running out of counter space with each new batch.
* 3 containers of white frosting
* 1 container of chocolate frosting
* 5 boxed cake mixes (you can use any flavor you’d like)
* 1 “science fair presentation” board
* Black, blue, pink, yellow and green food dye (food coloring would work fine)
The cake mixes and frosting are pretty self explanatory. The “science fair presentation” board probably has a real name but I’m sure we all know what I’m talking about. It folds out with the middle greater than the two sides. You could use another board but this was the only one at the craft store that was big enough to be the surface for building on.
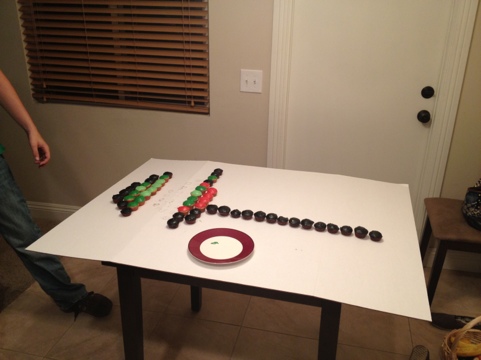
The image we chose was pixel art to begin with so we didn’t have to pixilated it to see what colors would go where. I believe you can just do this in photoshop but the higher the quality of the image, the more pixels it will be and, therefore, more cupcakes to bake.
Will laid a grid on top of the image to make it clear which pixel was which and he did all the counting of each color and made the handy little guide. Very highly recommend something like that to keep track. With all those colors, we were only off by two on the blacks. Pretty impressive for counting by hand.
I know Will had designs on using this earn karma on Reddit but to me this was just about getting to say I did it. An seeing the final product. That’s pretty cool too.
It looks awesome!
Mixing colors is always my least favorite part of painting/cake frosting, it’s so hard to get the colors just right..
Yeah they were pretty bad at first but I got better (and more confident) the more I did it.
Pingback: Post-Weekend Blues | Creature of Habit